The Best Wildlife Photography Camera Settings
How to shoot amazing wildlife photography in 15 easy steps.

This post may contain affiliate links, which means we might earn a small commission on anything purchased through these links at no extra cost to you. Learn more on our disclaimer page.
Photographing wildlife can be difficult. Animals move quickly and sporadically and can disappear in the blink of an eye. Photography is an art and a balance between technical and creative elements. Many photographers wonder what the best wildlife photography camera settings are when they’re first starting out. But, with practice, you can take great wildlife shots every time. We’ve collated 15 wildlife photography tips in this checklist, which includes everything you need to know to shoot clear, crisp and properly exposed photographs. Often, the use of specific photography settings can be down to personal preference. With that being said, there are a few general rules to follow when choosing camera settings for good wildlife images. We have included the actual numbers of camera settings that you need to improve your wildlife photography skills. Here’s a list of the best wildlife photography camera settings so you can get the most out of your camera.
The quick answer
Which settings should you use for wildlife photography?
What shutter speed should I use for wildlife?
Which aperture is best for wildlife photography?
What ISO should I use for wildlife?
1) Consider your equipment
It’s totally possible to take good wildlife photographs with a camera phone. But if you’re serious about taking good-quality wildlife photos, you’re going to need to invest in a camera. There are a lot of articles out there that list the best wildlife photography cameras, but realistically best camera for you will depend on your budget, preference and lifestyle. A compact camera is going to limit you to one zoom lens, so we’d recommend you opt for an interchangeable-lens camera.
When choosing a mirrorless camera, you’ll also need to consider sensor size:
How does sensor size affect your photo? Well, it’s all about crop factor. If you mount a 100mm lens on a full-frame camera it captures a 100mm image. If you mount a 100mm lens on an APS-C camera, it crops the frame and the photo looks zoomed in, as if you took the photo on a 150mm lens. And if you mount a 100mm lens on an MFT camera, it will crop it as if you took the photo on a 200mm lens. This crop factor also affects your lens’ focal length, but more on this in the next section.
When choosing a camera, we’d recommend checking it has image stabilisation (IS), which helps eliminate blur from any unsteadiness you might have when clicking the shutter. Weatherproofing and battery life are also important to consider when buying a camera for wildlife photography. And burst mode, autofocus, and lens range are important too but we’ll get into those separately later on.
Here are a few suggestions for cameras for wildlife photography that we shortlisted in our research:
2) Chose appropriate lenses
When deciding on your camera, you’ll want to consider the lenses that go with the camera body. There are pros and cons to each kind of camera and its lenses, and often you’ll find you need to buy into a brand. For example, Canon cameras can only be used with Canon lenses and Sony cameras can only be used with Sony lenses (unless you buy an adapter). Whereas Micro Four Thirds camera can be used with any MFT lenses, so you can choose between Panasonic and Olympus lenses. It’s a good idea to have an idea of the range of lenses available before you buy your camera body.
It’s worth noting that your lens’ focal length output will be affected by the type of camera you choose and its sensor size (crop factor). Lens length is measured based on a standard full-frame camera. As APS-C and MFT cameras crop the frame, the original focal length is effectively multiplied by the crop factor.
For example:
You’ll notice a lot of our photos have been taken on a 150mm lens (the farthest our Panasonic Lumix 45-150mm zoom lens can zoom). As we have an MFT camera, this focal length output is equivalent to using a 300mm lens on a full-frame camera and a 225mm lens on an APS-C camera.
There are two kinds of lenses: a prime lens has a single focal length and a zoom lens has a range of focal lengths. Buying multiple lenses can be very expensive, so a zoom lens gives you the benefit of multiple focal lengths in one lens.
Most photographers will own some kind of kit lens – this is a standard photography lens and is often included in your purchase as a starter lens. Landscape photographers will have a range of wide-angle lenses, as they can capture a wider view. But for wildlife photography, you need a long lens. This allows you to take photos from a distance but will look like you were a matter of metres from your subject. It’s important to be able to photograph an animal without getting too close. As a wildlife photographer, you should observe and not disturb. Not only might getting too close scare the animal away, leading to possible injury and stress, but it can interrupt important behaviours like feeding or mating.
If you’re serious about wildlife photography, you might like to consider buying a telephoto lens. This kind of long-focus lens allows you to take shots from great distances but is also much larger, heavier and more expensive than other lenses.
It’s also possible to buy a teleconverter, which increases the focal length of an existing lens (like a magnifying glass would). However, it will reduce the aperture by at least one stop (so if your lens normally goes as low as f/3, you’ll only be able to shoot at f/4 or higher).
Read next: Let’s Talk About Ethical Wildlife Tourism
3) Orientation: Portrait or landscape
When you first get into photography, it can be easy to just point and shoot – which means you’ll likely take all your photos in landscape. But there are situations where shooting in portrait can be beneficial.
Portrait refers to a photo taken in vertical orientation while landscape refers to shots where subjects are too wide to shoot with a portrait orientation. It’s kind of self-explanatory: landscape is useful for taking photos of landscapes and scenery, while portrait is a useful orientation for people. Either orientation can be used in wildlife photography. Landscape can allow you to fit an animal into a scene, giving context to your image. While portrait can capture heads and eyes nicely, giving emotion and story to an image.
It’s also worth considering where your photographs are going to end up. If you plan to display your photos on screens like your computer or TV, landscape means the photo will fit the frame. But if you plan to publish your photos on social media, portrait can make it easier to crop your photo to fit a phone screen.
4) Learn about composition
Composition is everything you see in a photo. It encompasses the arrangement of visual elements within the frame and is often the difference between a good and a bad shot. Photography is a form of art, so there is an element of subjectivity to what makes a good photo, but there are also some tried and tested elements that can guarantee a visually pleasing photo.
Firstly, you should choose your framing – where to place your subject (in wildlife photography this would be an animal). Do you want to fill the frame or crop in on part of their face? Consider how it fits with the background and surroundings and where your attention is drawn. Check the edges of your frame to ensure you’re not cutting something off. Distractions like leaves or twigs might be sticking into the frame and you’ll need to reposition before snapping the shutter button.
Understanding the rule of thirds can help to improve your composition. Gridlines are one of the simplest wildlife photography camera settings to utilise with instant results. Use gridlines to break up your image into thirds vertically and horizontally, making 9 sections of 3×3 rectangles. Positioning your subject either along the lines or at the intersection of two lines can create a more balanced and visually pleasing picture. Many cameras actually allow you to display a grid in the viewfinder and on the LCD screen. Using leading lines can also improve an image. Our eyes are unconsciously drawn along lines in images so positioning a branch or road can help draw attention to certain areas of your photo.
5) Consider the lighting
The type of light, its direction and its colour temperature will all affect your photo and how your subject is lit. Lighting is the be-all and end-all of photography. Which is annoying because it’s completely uncontrollable in a natural environment. But you can control how you use light in your photography.
Being in the right place at the right time can help improve your wildlife photography. Sunrise and sunset times are predictable and also produce softer light than the midday sun. You might have heard the term golden hour. This is the first hour after sunrise and the last hour before sunset. These times are known for producing natural light that is warm, soft and directed towards a subject’s face. Dawn and dusk are also when a lot of animals, particularly mammals, are most active so this time of day is beneficial in increasing your chances that your subject is active too.
Bright sunlight, especially when it’s top-down in the middle of the day, can create harsh shadows which can be unflattering. Cloud cover can help to eliminate high contrast or overexposure, but will often result in a cooler-toned quality of light too.
A typical rule of thumb is to keep the sun behind you, known as backlighting. This helps to separate your subject from the background, ensuring they are well-lit. It also helps combat overexposure and glare that can affect an image that is taken into the sun. However, side lighting can illuminate a subject on one side, leaving the opposite side in deep shadow, which creates high-contrast images which can be nice too.
If you find yourself shooting in bright light often, you might consider buying a neutral-density filter (ND filter). ND filters work like sunglasses, they are a dark filter that attaches to the front of your lens and helps darken your image.
6) Shoot in Manual Mode
Aperture Priority Mode (manually select the aperture and let the camera determine the shutter speed) is preferred by some photographers when dealing with light that changes quickly, for example, birds flying under the shadows of a canopy of trees. You can set your preferred ISO and let the camera take care of the shutter. Shutter Priority Mode (manually select the shutter speed and let the camera determine the aperture) can be used too but, as you’ll likely set a high shutter speed for shooting animals as they move, you run the risk of overexposed or underexposed images. But Manual Mode is the best mode for wildlife photography. It gives you complete control over your settings and you can adjust and balance each component individually.
To use manual mode, you’ll need to have a basic understanding of photography. Understanding The Exposure Triangle is particularly helpful. It explains the 3 basics of photography – aperture, shutter speed and ISO – and how to balance them all together. You’ll also need to do some trial and error as every camera model is slightly different. As they say, practice makes perfect.
Now, let’s have a look at the actual numbers that make up the best wildlife photography camera settings.
7) Pick a high Shutter Speed
Shutter speed is the first setting you should think about when setting up your camera for wildlife photography. Shutter speed is the speed at which the shutter of the camera closes and determines the amount of light the camera takes in and how crisp or blurry a picture looks.
Having a slow shutter speed can create motion blur. You would use a slow shutter speed for subjects like a waterfall when you want to create motion blur in the water – but you’d need to use a tripod to stop the whole picture from being blurry as hand-holding your camera with a low shutter speed can create camera shake. For moving objects like vehicles, people and animals, you need a high shutter speed to freeze the subject in the image.
Shutter speed is measured in seconds or fractions of a second. The general rule of thumb for figuring out the lowest handheld shutter speed that will produce a sharp image is to match the shutter speed with your lens focal length. For example, if you have a 250mm lens, you want to shoot no slower than 1/250th of a second while handholding the camera. Remember that the focal length is standard for a full-frame camera, so you need to adapt this calculation for your camera. A 250mm lens on an APS-C is equivalent to 375mm (so no slower than 1/375s) and on a MFT it’s equivalent to 500mm (so no slower than 1/500s).
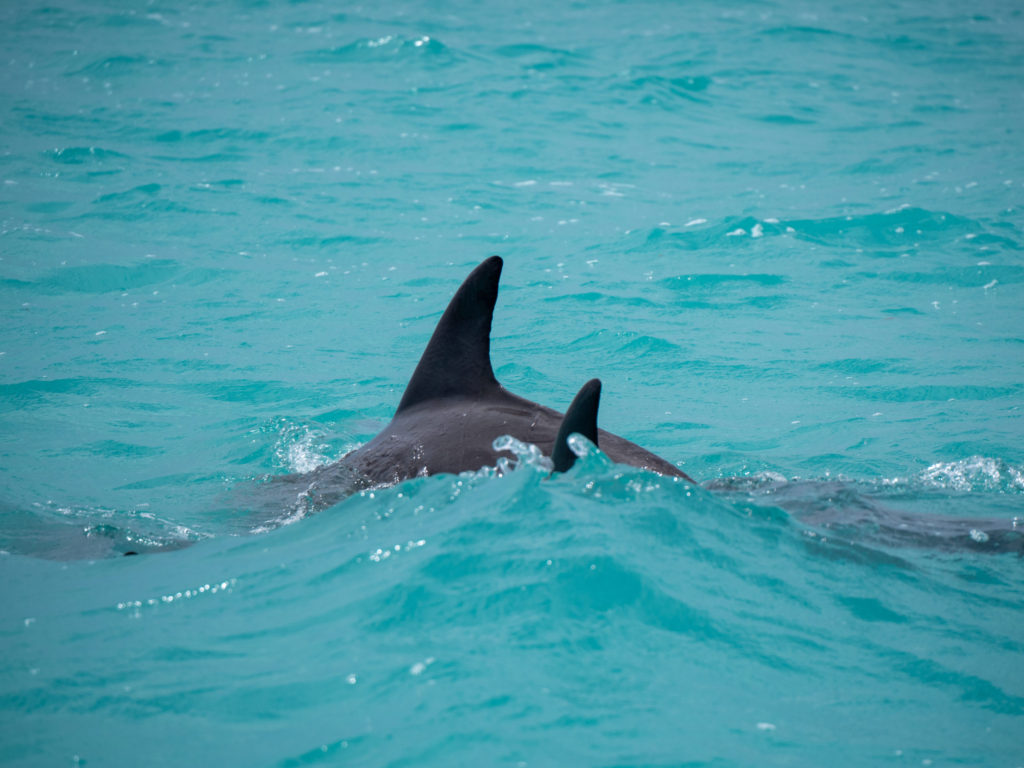
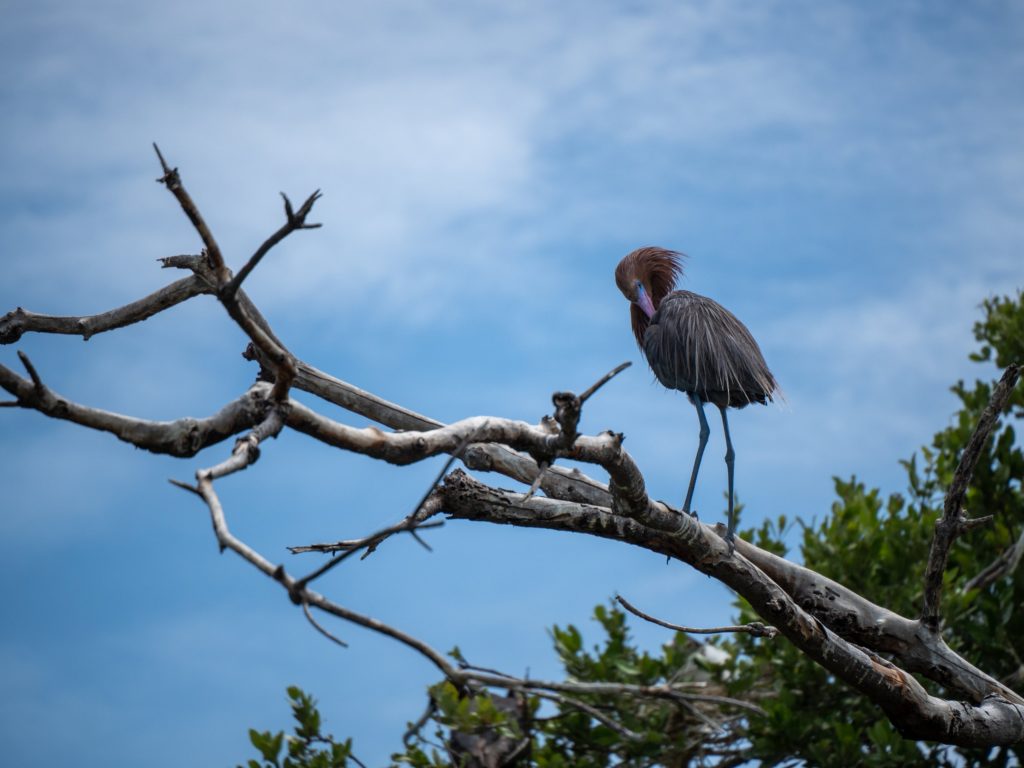
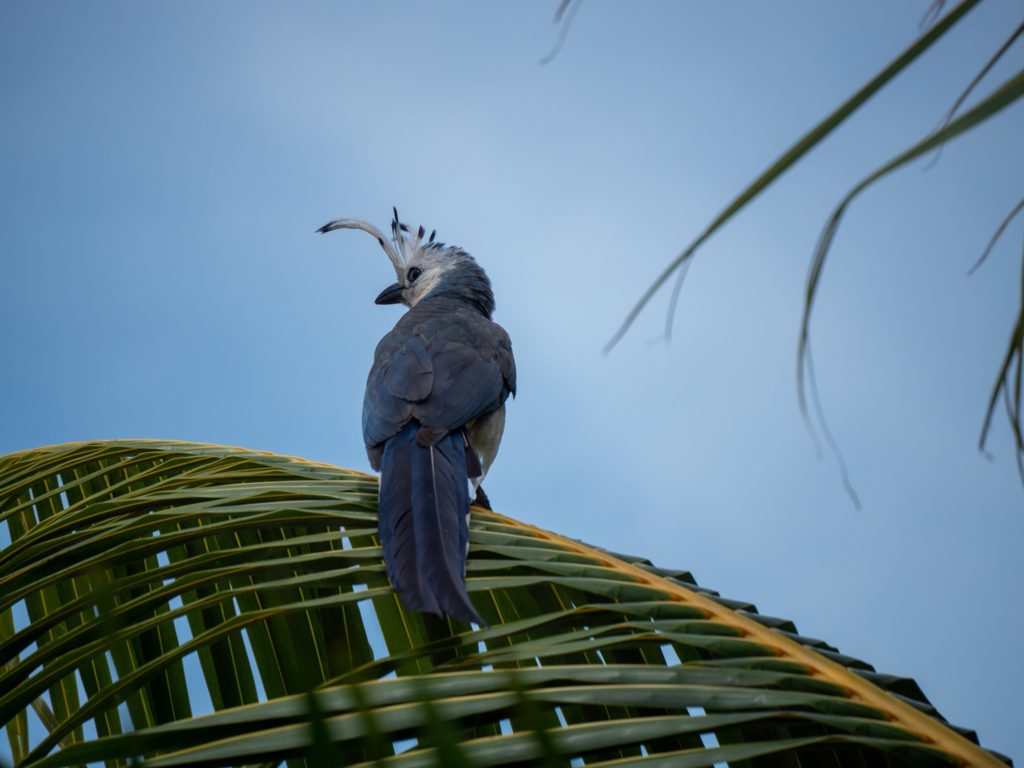
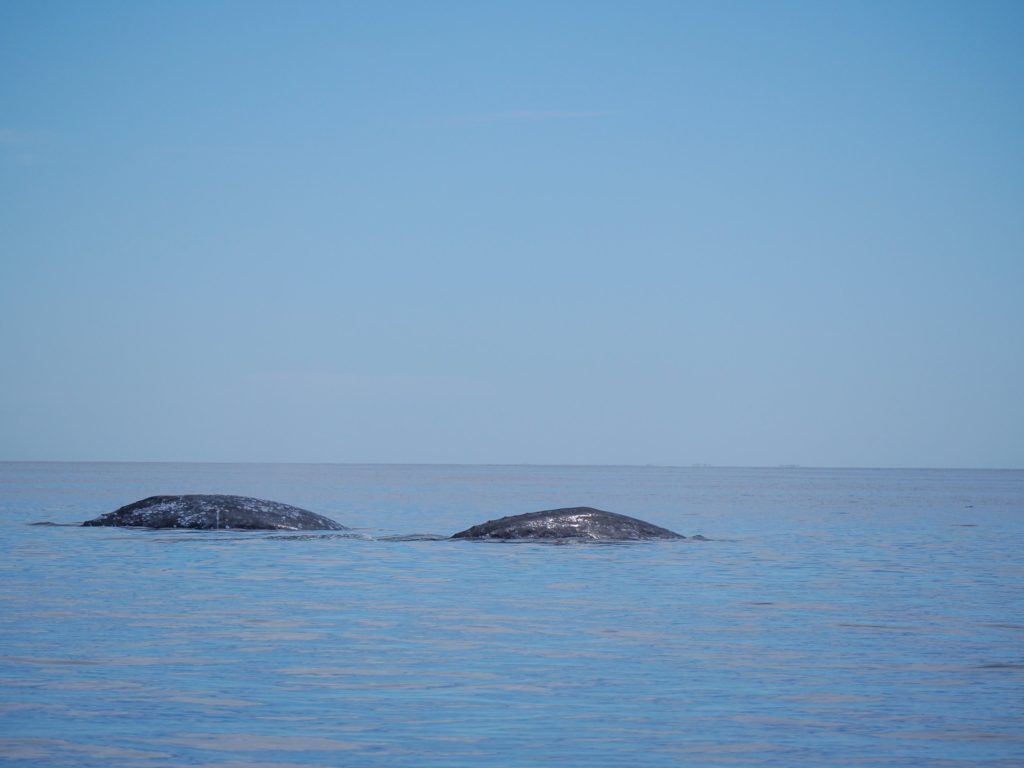
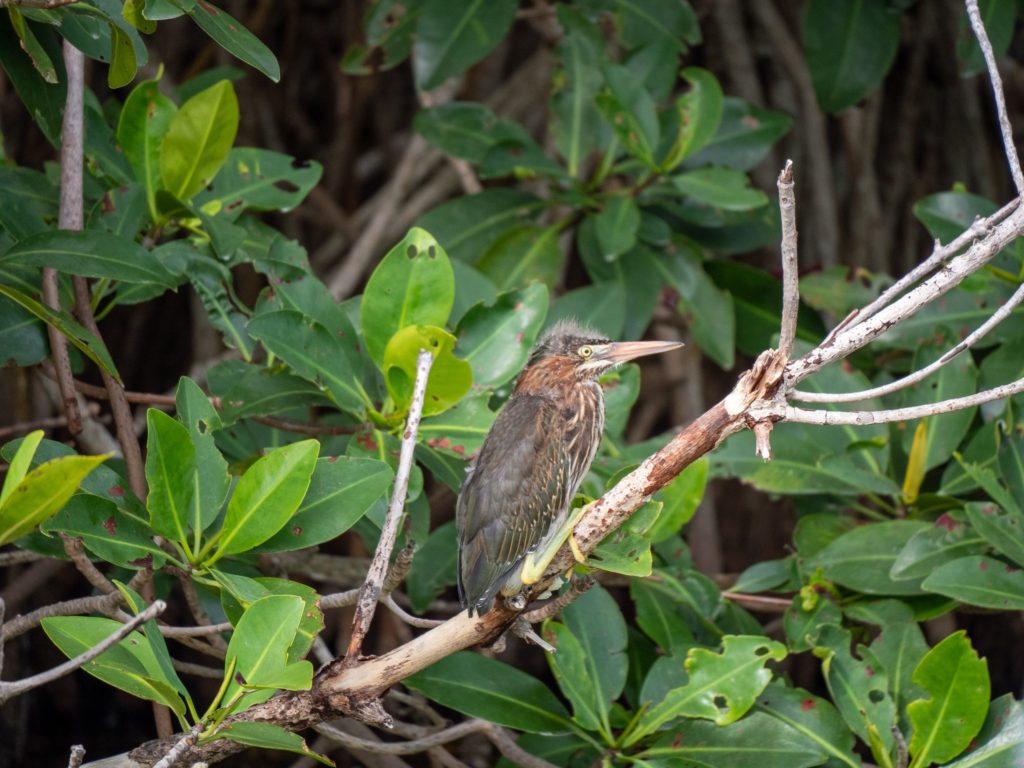
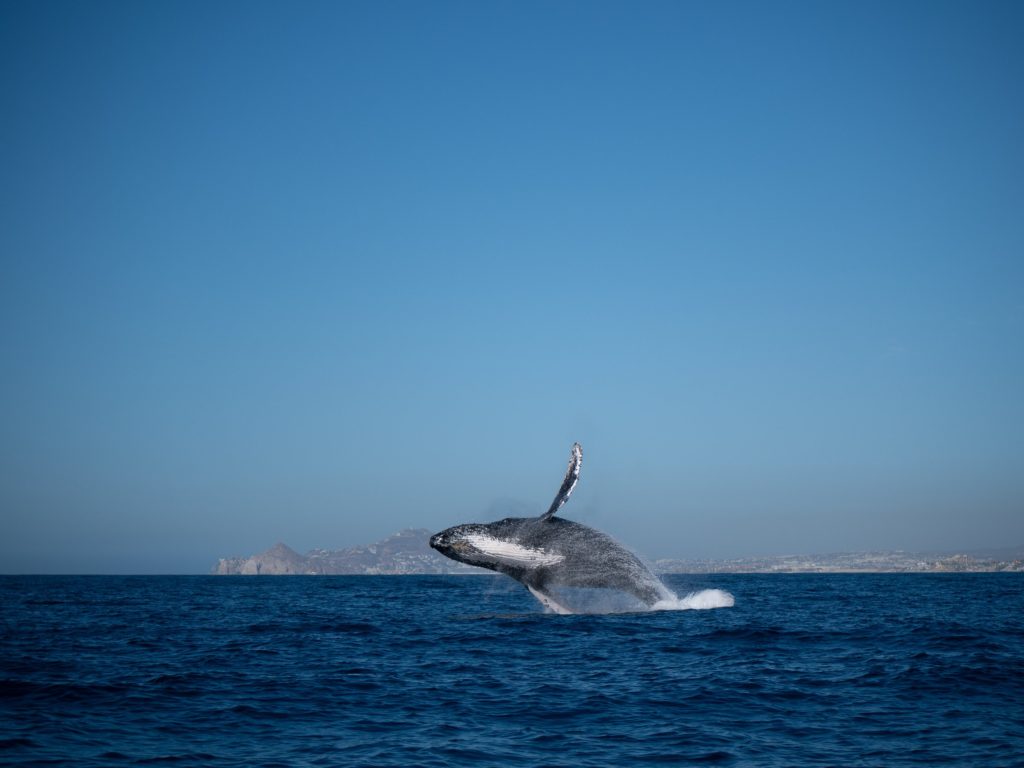
So what are the best shutter speeds for wildlife photography? You can start at 1/250th of a second for static wildlife photography. Moving animals may require 1/500s or faster. For quick-moving wildlife, like running or swimming animals, choose a shutter speed of 1/1000s or higher. We tend to choose between 1/1000s to 1/2500s for whales and dolphins. Fast-moving birds can require a higher shutter speed of 1/2000s to 1/4000s depending on the situation.
8) Choose a wide Aperture
Aperture is the opening in a lens through which light passes into the camera – the wider the aperture, the more light that enters. Aperture is most simply understood to control depth of field and is simplified if you think of it like a pupil in an eye. Aperture is measured in f-numbers or f-stops (the ratio of the lens focal length divided by the diameter of the entrance pupil of the aperture).
A small f-stop number indicates that the aperture blades in your lens are open fairly wide. So an f-stop of around f/2 or f/2.8 means you are capturing a lot of light. At wide/large apertures, your photos will have a shallow focus, where only your subject is sharp and the foreground and background are out of focus.
As you raise the f-stop number through f/11, f/16, f/22 you are closing the aperture blades, resulting in less light being captured. At narrower/smaller apertures, the depth of field increases and objects that are further away are in focus.
The best aperture for wildlife photography is a wide one (a small f-stop number). The lowest f-stop number will depend on your lens. We tend to stick to between f/3.5-5 on our wide lens and f/5-6 on our long zoom lens (the widest settings for each lens). Wider lenses can go as small as f-stop 2 or even lower.

9) Set a low-mid ISO
ISO (International Organization for Standardization) is most simply understood to control exposure or brightness and is arguably one of the most important wildlife photography camera settings. A lower ISO value means less sensitivity to light, darkening your photo. While a higher ISO means more sensitivity to light and brightens your image. ISO is measured in numbers, typically from 100 to as high as 6400 (but can be much higher), through 200, 400, 800, 1600 and 3200. If your ISO value is too high you will end up with a very ‘noisy’ or grainy photo.
The best ISO setting for wildlife photography is generally mid-range, between 400-800. In most situations, this will give you the flexibility to shoot a high shutter speed with a wide aperture. If you’re shooting in strong sunlight you can even take the ISO down to 200, which will reduce grain in the final image without underexposing your photo. We typically keep our ISO between 100-500 and ideally no higher than 800.
For shooting wildlife, we also often use Auto ISO. By setting a high shutter speed and wide aperture, the ISO is typically kept at a lower number. This can save you precious time fiddling with multiple settings. There are two things to be aware of though. In bright light, you run the risk of hitting the lowest ISO and overexposing your photo as the ISO can’t go any lower. In low light, you run the risk of your ISO overcompensating and going too high, making your photo grainy. If you use Auto ISO, keep an eye on the number and, if you see it creeping too low or high, switch back and adjust it manually to balance with the other settings. On some cameras you can set a maximum ISO which won’t be exceeded when shooting in Auto, so you don’t need to manually monitor it.
10) Use Continuous Autofocus
Having a camera with good Autofocus (AF) is super useful for wildlife photography. Autofocus keeps your lens focused on your subject, even if it’s moving. On most cameras, autofocus is triggered by pressing the shutter button down halfway.
Using Continuous Autofocus (AF-C) is imperative when tracking moving animals. In this mode, the camera continues to focus and re-focus constantly, even if your subject moves within the frame. This is useful for wildlife, as animals are often on the move.
If your subject is stationary, One-shot or Single Autofocus (AF-S) uses a single point rather than multiple ones to determine what to focus on. This option allows you to aim at a single point (e.g. the animal that is your subject), ensuring the camera focuses nowhere else.
Some photographers like to use Manual Focus (M). This mode gives you the most control over the focus of your image but is a bit faffy for fast-moving subjects and another setting to think about when shooting in manual.
11) Shoot in Burst Mode
Burst mode (also called continuous shooting mode) is amazing. It shoots several photos in quick succession, giving you multiple images of the same moment. You can choose how many frames you’d like captured in a burst. Just bear in mind that the more photos you take in a burst, the quicker your SD card is going to fill up. We tend to go for 3 to 5 frames per click of the shutter button. You can turn on burst mode in your camera settings.
12) Take RAW + JPEG
Your camera’s default settings will likely take pictures in JPEG format (Joint Photographic Experts Group). This is a standard image format. But if you’re serious about producing the best quality wildlife photography, we’d recommend you also turn on RAW capture. A RAW file is an uncompressed and unprocessed image. RAW images retain more detail and information than JPEGs but are also significantly bigger files (meaning they take up more space on an SD card or hard drive). You can think of a RAW file as literally a raw image or digital negative that will need to be processed in order to bring out the picture’s full potential – similar to developing physical negatives under red light in a dark room. We’d recommend shooting in RAW + JPEG so you have the standard photo (JPEG) and the RAW copy for editing.
13) Don’t forget post-production
So what do you do with your images once you’ve shot them? There’s not really any reason to edit JPEG files other than basic tweaks, like straightening and cropping. But, as we mentioned above, RAW files need processing, or developing. There’s a range of editing softwares available online, from free to subscription-based, that will allow you to edit your images. We like to use Adobe Lightroom. It’s intuitive and easy to use, with a wide range of tools and works well for organising and processing photos. And the basic mobile version is free! Serious photographers should consider Adobe Photoshop, which allows for more image manipulation, creation, and enhancement.
14) Choose export settings
When exporting your image, there are a number of things to consider. Storing images can take up a lot of digital space, so it’s a good idea to consider the file size and whether you’d like to compress your image. We’d recommend setting up an organised storage structure from the beginning, or you’ll quickly lose track of your files. It’s also a good idea to invest in a hard drive (or several) to back up your images, so you don’t lose them. We like Samsung’s SSD Portable Hard Drives. They’re small, light and powerful and, unlike traditional hard drives, there’s no risk of losing your files if you drop them due to the solid state technology.
If you plan to upload your images to social media, there are often limits and requirements to bear in mind. For example, large files are compressed by Instagram and may lose their sharpness and colour. Certain ratios also work best for different screens. Photos in 5:4 are ideal for Instagram, while a TV screen is typically 9:16.
15) Look with your eyes
We hope you find these wildlife photography tips useful, but we have one last thing we’ve learned about photography to share. As nice as it is to get that perfect photo, it’s more important to actually live life. Often you’ll find yourself witnessing once-in-a-lifetime behaviours with animals you’ve only seen behave in certain ways on TV. Remember to look with your eyes and not just through the viewfinder. Take a moment to soak in what’s happening and make memories too. Then snap that shutter button and get that epic shot.

Wildlife Photography FAQs
What is wildlife photography?
Wildlife photography is the practice of taking photographs of animals. Wildlife photographers document various forms of wildlife in their natural habitat. It can require more patience than other genres of photography, but can also be incredibly rewarding.
How do you do wildlife photography ethically?
The most important thing to consider when photographing wildlife is the animal’s wellbeing. This means keeping your distance and not disturbing the animal is key. Telephoto and long zoom lenses are useful for taking close-up wildlife shots, without the need to get near the animal, which can stress it out. Always consider your impact and avoid the animal’s personal space.
Read next: Let’s Talk About Ethical Wildlife Tourism
What are the best wildlife photography camera settings?
The best wildlife photography camera settings are a high shutter speed, wide aperture and low ISO. The balance between these components will depend on the animal, setting, lighting and camera.
What is the best camera mode for wildlife photography?
Manual mode gives you much better control over the technical elements in wildlife photography and is recommended for wildlife photographers.
How can I make my wildlife pictures sharp?
The sharpness of a wildlife image is largely dictated by shutter speed and ISO. A shutter speed that is too low will produce a blurry image. Having an ISO that is too high will also make your image grainy.
What is the best time of day to photograph wildlife?
There is no time of day that is best to photograph wildlife. However, sunrise and sunset produce softer and warmer lighting, which many wildlife photographers prefer. These times are also when most wildlife is most active.
Which qualifications do you need to be a wildlife photographer?
You don’t need any qualifications to be a wildlife photographer. Many people wonder how to start wildlife photography and the best answer is just to practice. If you’re interested in becoming a professional wildlife photographer, it may be beneficial to take a course to develop your skills.
How to get into wildlife photography?
As above, the best way to become a good wildlife photographer is to practice. Anyone with a camera (even on a phone) can go outside, observe wildlife and practice getting good wildlife shots.
What is the best lens for wildlife photography?
A long lens is best, as it allows you to take close-up photos from far away. Telephoto lenses are most popular with wildlife photographers.
What zoom lens is best for wildlife photography?
A zoom lens with a long focal output is best for wildlife photography.
Which camera is best for wildlife photography?
The best camera for wildlife photography will depend on your budget, preferences and lifestyle. Here are a few suggestions of good wildlife photography cameras:
Are DSLRs good for wildlife photography?
Yes, DSLRs are popular cameras for wildlife photography. One DSLR that is very popular with wildlife photographers is the Nikon D7500 (Browse UK | Browse US).
What is the best tripod head for wildlife photography?
A gimbal head is considered the best tripod head for wildlife photography. It can perfectly balance the weight of your camera so that you can effortlessly move it horizontally and vertically. Gimbal heads are great at carrying heavy loads, making them great for wildlife photography, where you often have a heavy setup or massive telephoto lens.
Read next:
Let’s Talk About Ethical Wildlife Tourism
Let’s Talk About Travel Insurance: The 6 Best Travel Insurance Companies
Let’s Talk About The Plastic Problem


Check us out on social media!